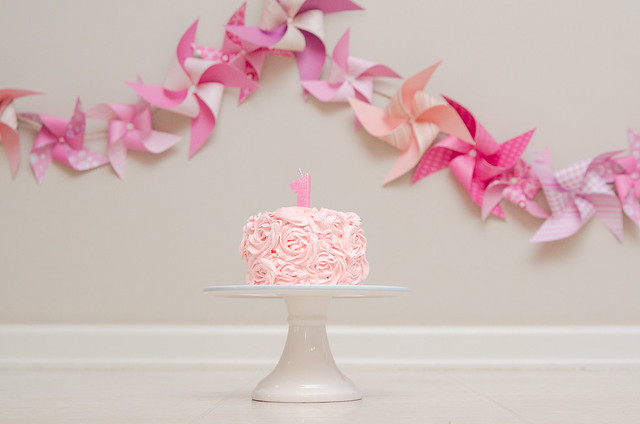
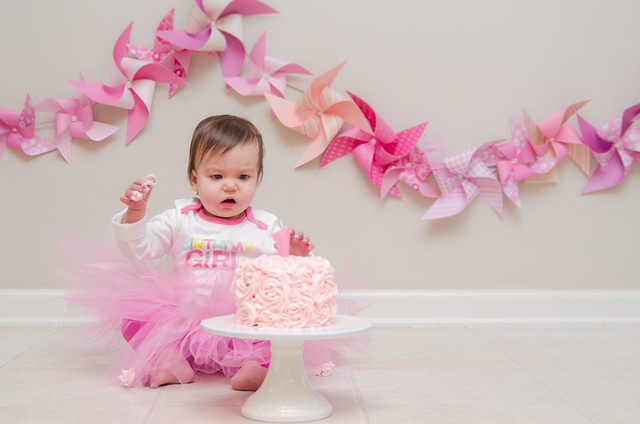
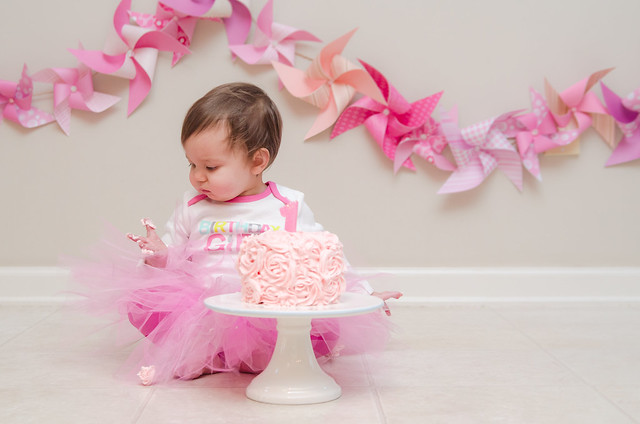
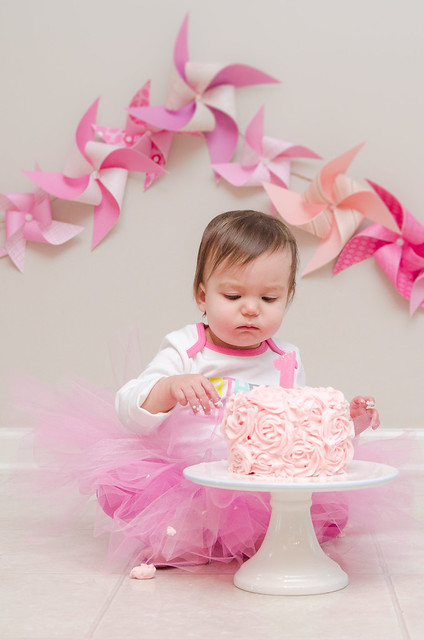
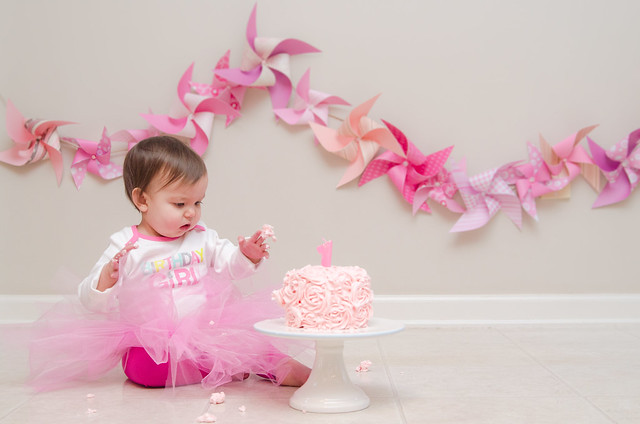
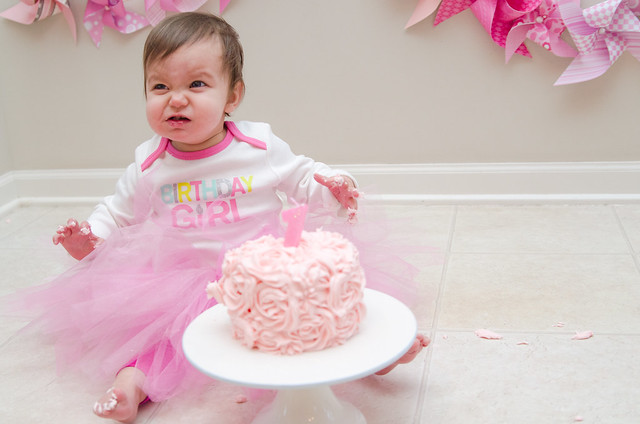
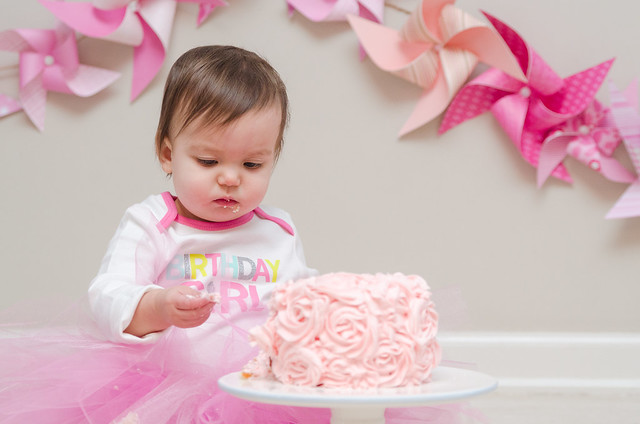
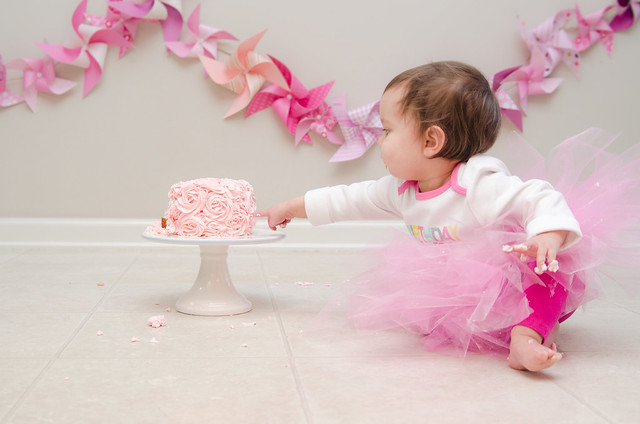
This year, I decided to try and do a “real” photo shoot for Coraline’s first cake. Spoiler alert: she liked it just as much as Jameson, which is to say, they were quite a bit concerned with what was on their fingers.
For Jameson, I went the healthy route and made a cake from baby food. It tasted just like carrot cake, except better (if I do say so myself). I made a relatively healthy cream cheese frosting to go with it, and he wasn’t super impressed and didn’t dig in the way I’ve seen some kids do so. One of the things I’ve seen since his first birthday is the cake smash session, where baby gets a photo shoot all to herself, so I decided to give that a shot.
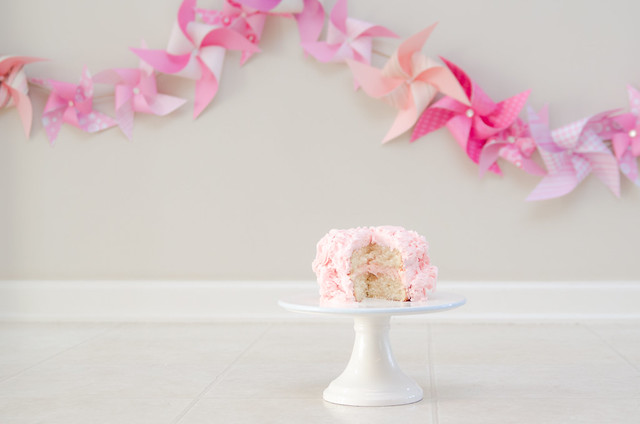
This time, thinking I would get better results from said baby, I made a traditional yellow cake. I used this 3 egg yellow cake recipe, because I only had 3 eggs on hand. It actually turned out great and very moist but solid enough that I didn’t accidentally carve it up while icing, and I’d make it again in a heartbeat. For the frosting, I realized I needed to get more ingredients regardless, so I went all out with a frosting recipe calling for 3-1/2 pounds of powdered sugar that I actually found on a couple different sites. I’m saving the leftover frosting in the fridge for the cupcakes I’m making for her party on Saturday.
I didn’t know, but for decorating cakes, a “crusting” type of frosting is recommended. I didn’t add all the powdered sugar (I did about 3-1/4), so mine didn’t crust too much and actually stayed just right for what I wanted for Miss Coraline. This frosting is intensely sweet but such a wonderful consistency.
For decorating, I borrowed a friend’s decorating bags from Wilton and her decorating tips. After doing a “base coat” of frosting to help the roses stick, you want the larger star-shaped tip, and you’ll just go around in the circle to make the rose. I wasn’t too worried about making mistakes or leaving gaps, I just made little “daisy” flowers between. I’m no professional, but I think it looks great! Here’s a great tutorial for even more professional looking results.
I even cut a slice out (which I later ate) to show her the insides, and helped her taste the cake itself, but still no dice. She’ll have plenty of opportunities to try it again in the next couple days. This still made for some super cute photos, and I’m really glad I took the time to do it!
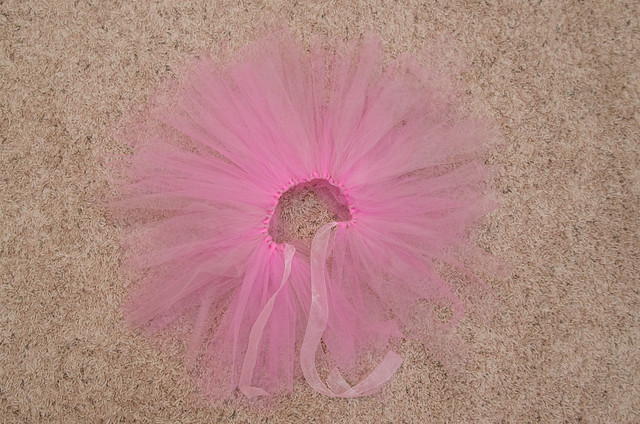
Oh, that super duper poofy tutu? I made that, no sewing involved. The hardest part was cutting!
I figured, no sense in paying a lot for something that’s going to get ruined with icing. The ribbon was more expensive than the tulle so if you already have ribbon to use it would’ve been about $2 to make. But, I will say that if you want it to go all the way around you need more than 2 yds of tulle! I wasn’t too worried about not having enough; it reached a little over half way around her waist and I tied the ribbon in the back. Total cost was about $4! If you want to try your hand, check out this tutorial I followed.

2 Comments
How cute! The adorable birthday girl looks quite pleased with her pretty cake and tutu! The cake was too lovely for her to eat it, I think. 😉 Good job, mama!
Thanks Stef, I agree, haha 🙂 It didn’t stop us adults from devouring it though!