
Are you ready for this monstrosity? It has been over a year in the making.
Last January 2014, we were about to sign with a contractor, also a family friend, to finish off our basement. We literally were about to sign the contract, that very night, when I was laid off from my job. So this project was put on hold. We had already picked out flooring, narrowed down our choices on carpet, and had a full layout planned.
Fortunately, it wasn’t long before I found a new job, but the project needed to wait for an opening in our contractor’s schedule. We began it in the fall of last year, and hauled out nearly everything from our basement to Brian’s sister’s house and upstairs.
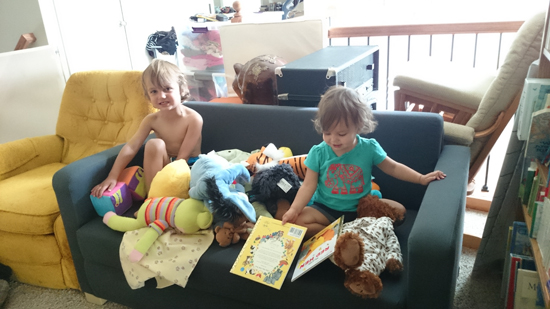
The kiddos loved having the couch, chair and miscellaneous speakers on our landing upstairs. I did not. The yellow chair has still not found a home, but this couch fit perfectly in Jameson’s room, so some space (and all the clutter at least) has been cleaned up.
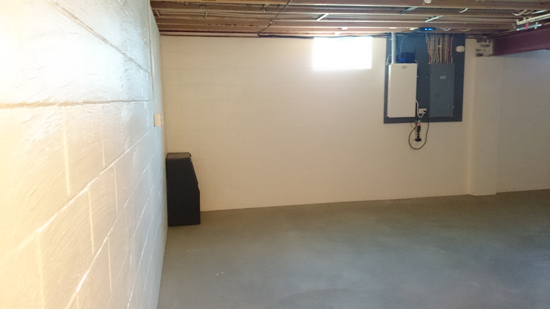
We had to deal with a column in the middle of the floor, as with many basements. We also wanted to hide the electrical panel, which was on the finished half, and the water shut off. Our initial plan was to hide the electrical panel behind a built-in entertainment center. However, as soon as the project got moving, we realized it made much more sense to move the built-in to a different wall.
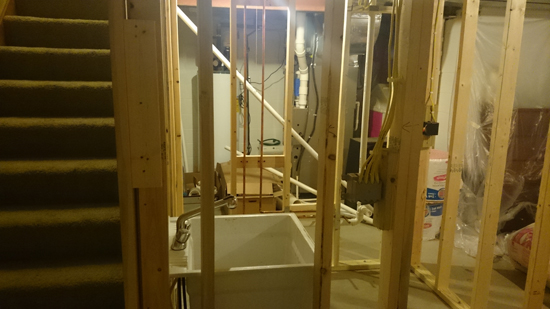
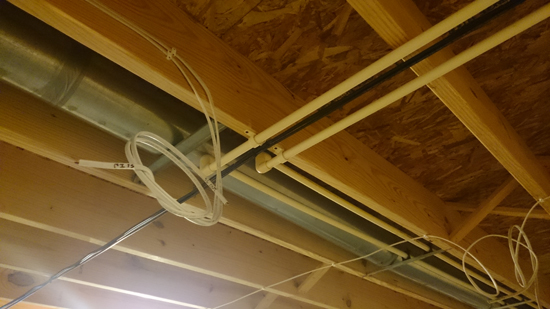
First step was framing, insulating, some electrical and drywall. This part went by very very fast, and then we could really see the space we were working with.
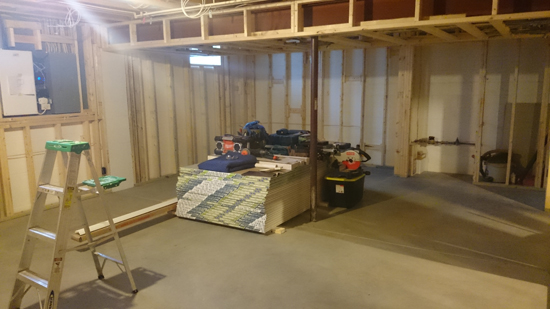

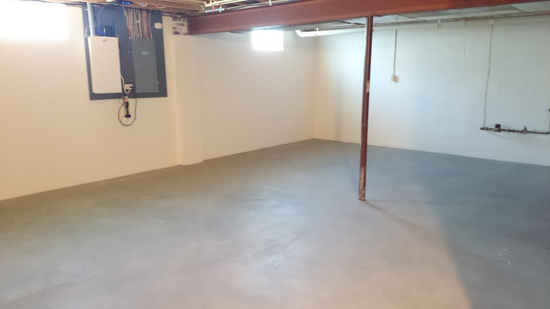
When the drywall went up, the space got really bright (also I had my fancy camera, so these photos are much clearer). It already looked so much more finished, but I didn’t realize how much more time there really was left to go. This was the easy part.

Next was beginning the ceiling tiles. There were so many little decisions during this whole process, such as deciding which switches should control which lights (which in the end we think we could still optimize).


Aside from the fundamental restrictions like the column, electrical panel and water heater, we had some other must-haves with our basement. We wanted to have:
- under stairs access for storage
- we wanted to have playroom storage for the kids
- and we needed to have a place to store with easy access Brian’s music equipment and speakers.
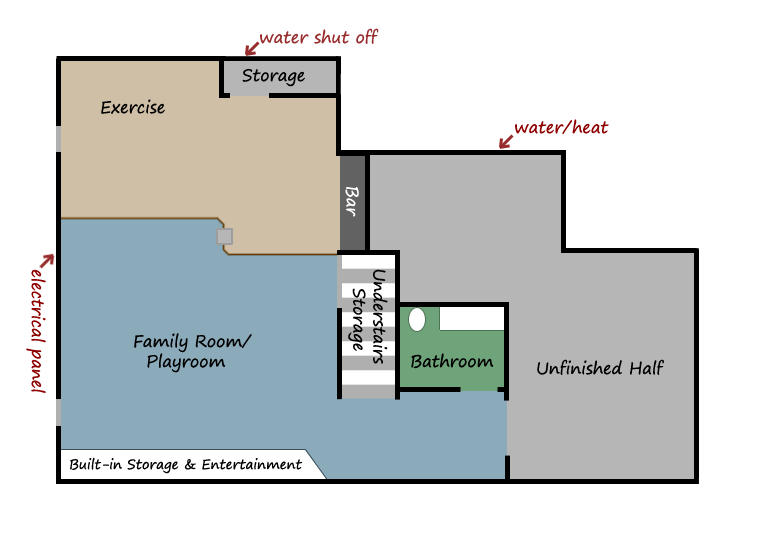
The built-in shelving and cabinets was debated at first with the various layouts we were considering. Debated by Brian, anyway, not by me. I always wanted floor-to-ceiling shelving. The angled edge makes the transition into the basement from the stairs much smoother.
The two large cabinets on the right, next to the wall, have magnetic trim so that the speakers can be fully wheeled out into the living space, so no one breaks their back moving them in and out to play.


We chose gray as our neutral rather than beige, though beige and browns are in the flooring we chose. The gray can look blue when the sun is out and shining in, and it’s a really soothing color I would paint my entire house in. This is how our basement looked for a couple months before we had furniture and before we could bring back down all our stuff.

The alcove here next to the understairs storage stayed like this for a couple months. We originally were going to do the bar ourselves, but changed our mind after the initial contract. So we signed a new agreement to add the back bar. We also waited for cabinet doors, since we decided to have them done by Amish craftsmen with the bar cabinet doors as well so they all matched.

The back bar came together so easily compared to the basement as a whole, in terms of decision-making. Brian and I picked the very first piece of remnant black granite we saw. We chose clearance tile from Home Depot, and a medium gray paint between the wall color and the dark gray we used on frames and the understairs door.
Brian did the tap work in the back, connected to a fridge. He’s insulated the tubing running to and from. The first time we used the taps was pretty thrilling.


It’s hard to peak at the bathroom, since it’s a tighter space (though not in person). It is done in a darker green on one wall, surrounded by a neutral greige. We picked the sink out at Ikea, and found a nearly matching frame at Home Depot, along with the toilet and light fixture.

Hidden behind one of these large frames is the electrical panel. We had our contractor make the frames since they were so large, and so they would match. They are actually sheet metal covered in a fabric I picked up at Jo-Ann Fabric & Craft Stores, and I’ve used small round magnets from Target to hang up our kids’ art.

The frame in the back behind our exercise equipment was also done by then, and is a brewery map by Pop Chart Labs. By accident, it was also backed with sheet metal, which turned out really well so Brian can mark where he’s been with little magnets.


Instead of hiding our understairs storage door, we’ve framed and highlighted it. The paint looks like chalkboard paint, but it is not. It is, however, magnetic. The color is the same as the frames. Coraline likes to take the magnets and hide them under the door.

We are so happy with our new space! I have been working out, which is a much more pleasant experience. I can easily see the TV from the treadmill. And take a drink when I’m done.
Lest you think the space is always this clean, we do have a kid desk, easel, car track and workshop that sit out that I simply moved out for the photos, as well as games and other miscellaneous items on our shelves. It’s truly lived in and well used, and we’ve really put it to work this winter with all the snow we’ve been having!