Our New Basement

Are you ready for this monstrosity? It has been over a year in the making.

Last January 2014, we were about to sign with a contractor, also a family friend, to finish off our basement. We literally were about to sign the contract, that very night, when I was laid off from my job. So this project was put on hold. We had already picked out flooring, narrowed down our choices on carpet, and had a full layout planned.

Fortunately, it wasn’t long before I found a new job, but the project needed to wait for an opening in our contractor’s schedule. We began it in the fall of last year, and hauled out nearly everything from our basement to Brian’s sister’s house and upstairs.

DSC_0672

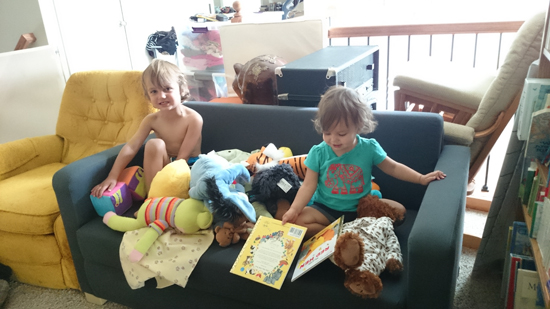
The kiddos loved having the couch, chair and miscellaneous speakers on our landing upstairs. I did not. The yellow chair has still not found a home, but this couch fit perfectly in Jameson’s room, so some space (and all the clutter at least) has been cleaned up.

DSC_0653

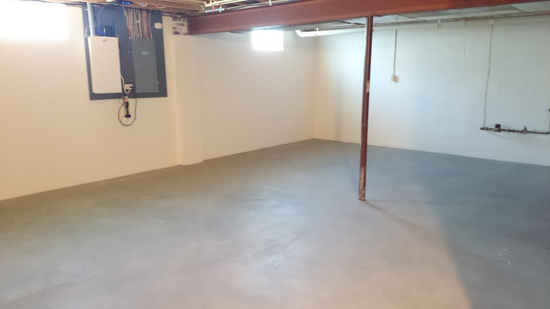
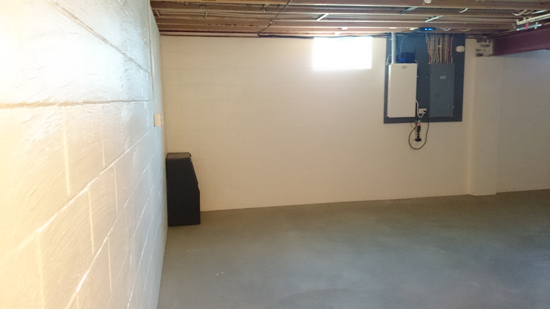
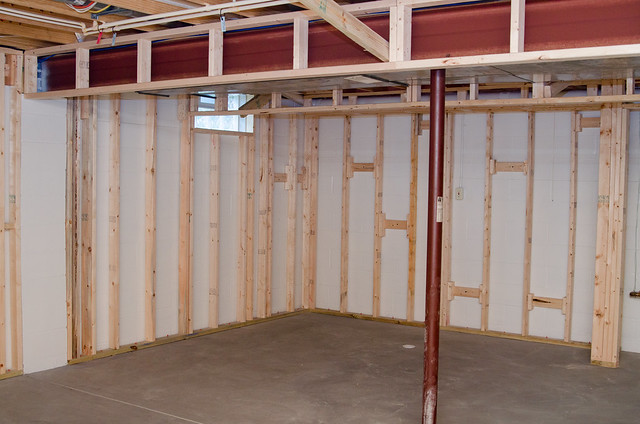
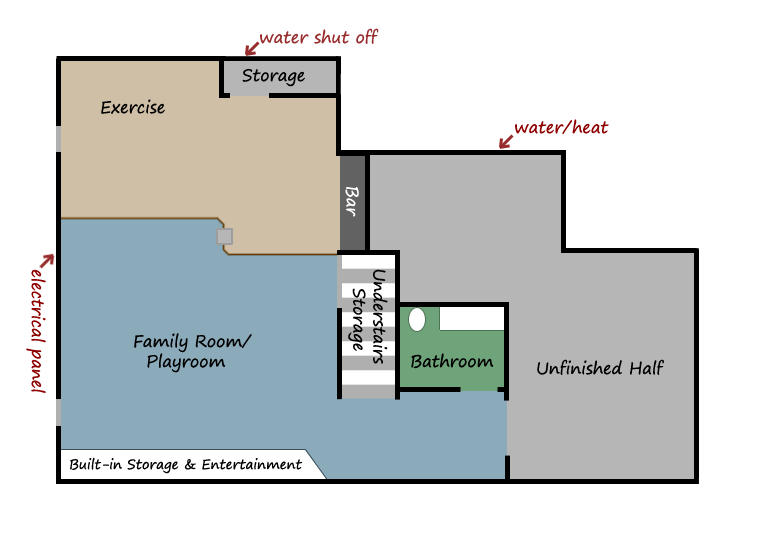
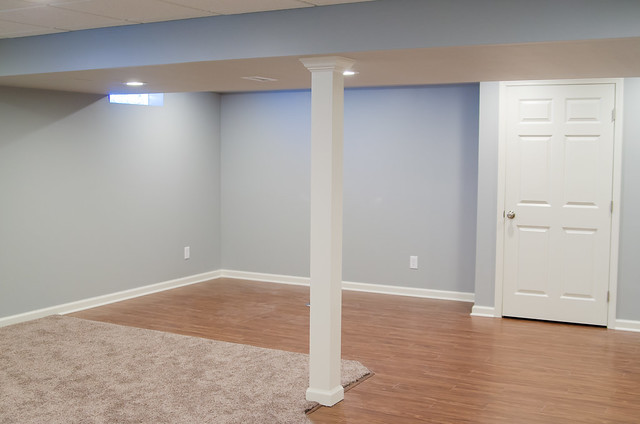
We had to deal with a column in the middle of the floor, as with many basements. We also wanted to hide the electrical panel, which was on the finished half, and the water shut off. Our initial plan was to hide the electrical panel behind a built-in entertainment center. However, as soon as the project got moving, we realized it made much more sense to move the built-in to a different wall.

DSC_0654

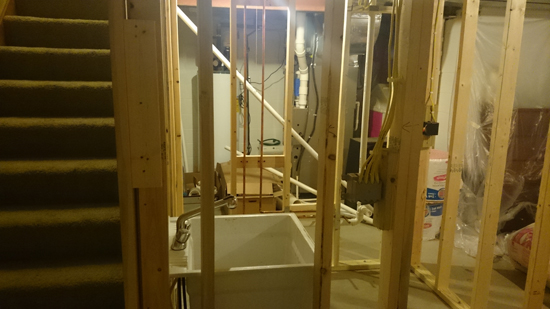
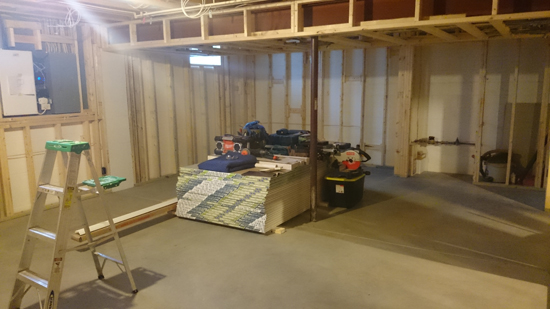
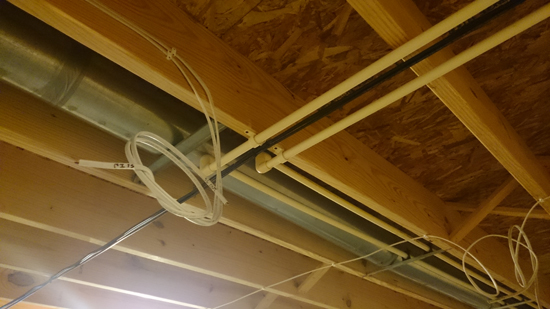
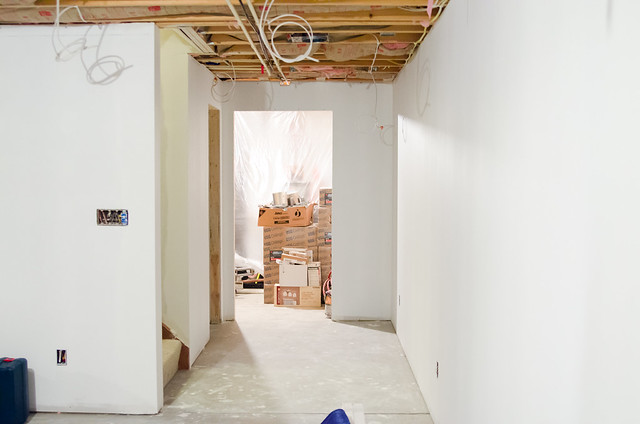
First step was framing, insulating, some electrical and drywall. This part went by very very fast, and then we could really see the space we were working with.

DSC_0815

DSC_0816

DSC_0824

20140820-Basement-Framing-3230

When the drywall went up, the space got really bright (also I had my fancy camera, so these photos are much clearer). It already looked so much more finished, but I didn’t realize how much more time there really was left to go. This was the easy part.

20140902-Basement-Finishing-3773

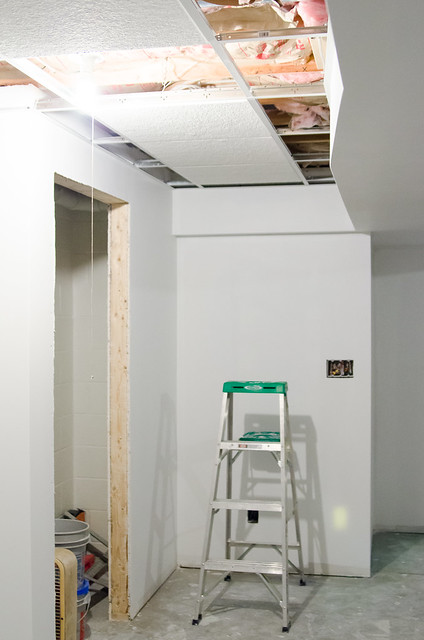
Next was beginning the ceiling tiles. There were so many little decisions during this whole process, such as deciding which switches should control which lights (which in the end we think we could still optimize).

20140909-Basement-Finishing-3886

20140909-Basement-Finishing-3891

20140909-Basement-Finishing-3888

Aside from the fundamental restrictions like the column, electrical panel and water heater, we had some other must-haves with our basement. We wanted to have:

  • under stairs access for storage
  • we wanted to have playroom storage for the kids
  • and we needed to have a place to store with easy access Brian’s music equipment and speakers.

DSC_0827

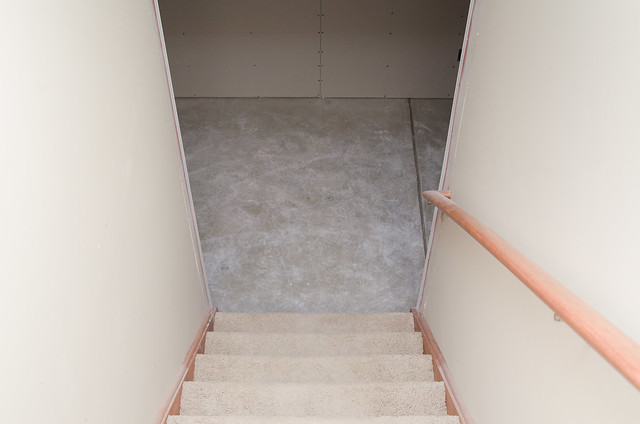
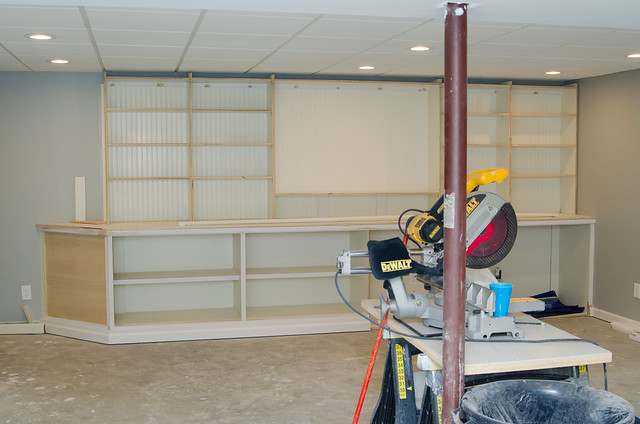
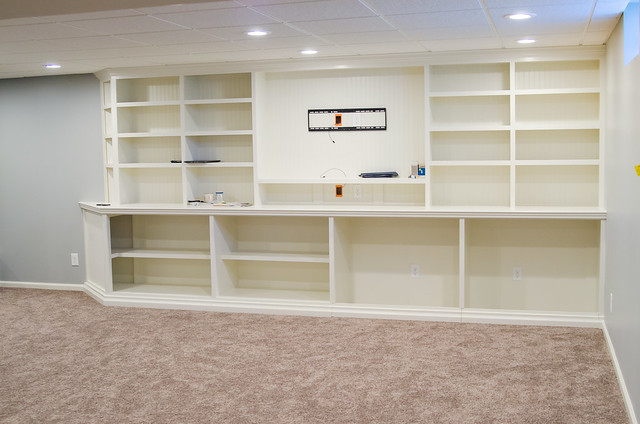
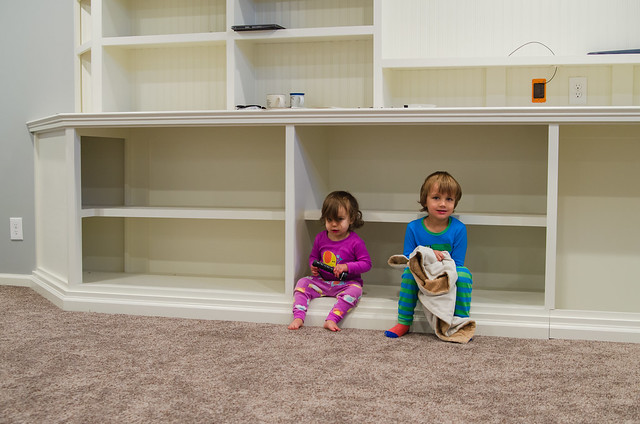
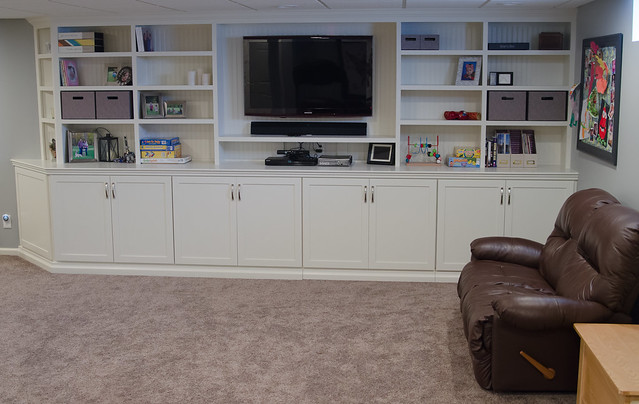
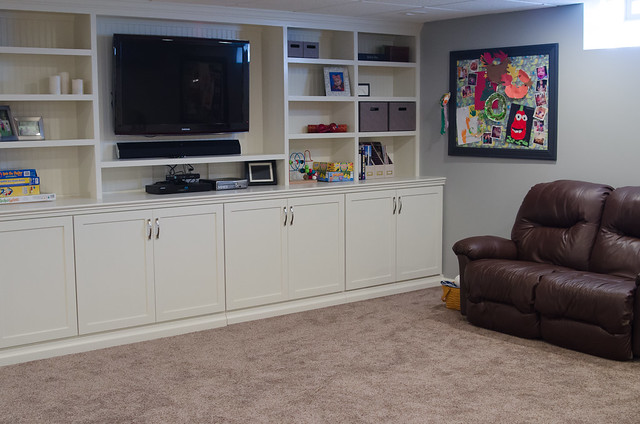
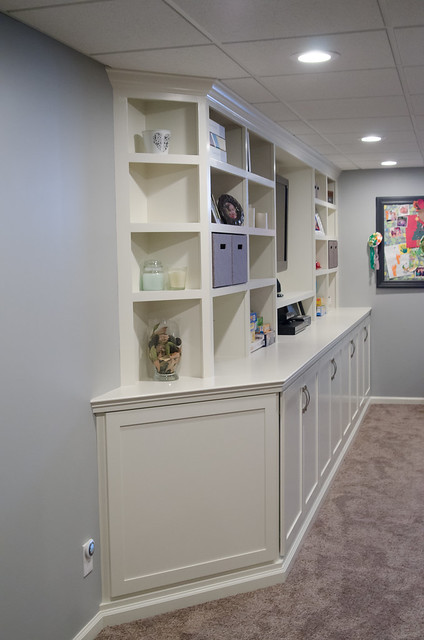
The built-in shelving and cabinets was debated at first with the various layouts we were considering. Debated by Brian, anyway, not by me. I always wanted floor-to-ceiling shelving. The angled edge makes the transition into the basement from the stairs much smoother.

The two large cabinets on the right, next to the wall, have magnetic trim so that the speakers can be fully wheeled out into the living space, so no one breaks their back moving them in and out to play.

20140929-Basement-Finishing-4425

20140929-Basement-Finishing-4420

20141012-Basement-Finishing-4533

20141012-Basement-Finishing-4541

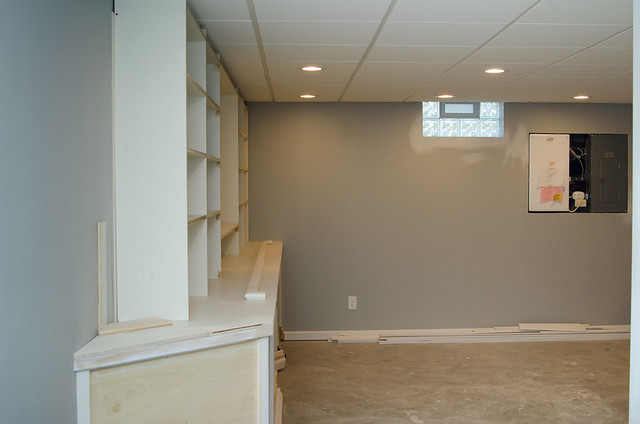
We chose gray as our neutral rather than beige, though beige and browns are in the flooring we chose. The gray can look blue when the sun is out and shining in, and it’s a really soothing color I would paint my entire house in. This is how our basement looked for a couple months before we had furniture and before we could bring back down all our stuff.

20141012-Basement-Finishing-4531

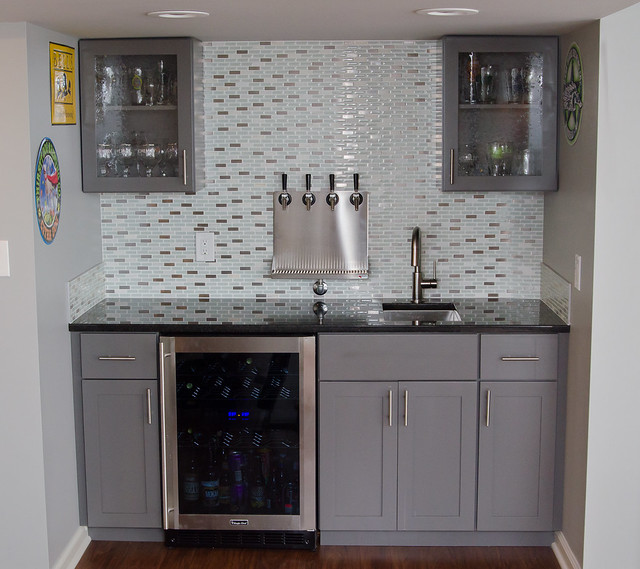
The alcove here next to the understairs storage stayed like this for a couple months. We originally were going to do the bar ourselves, but changed our mind after the initial contract. So we signed a new agreement to add the back bar. We also waited for cabinet doors, since we decided to have them done by Amish craftsmen with the bar cabinet doors as well so they all matched.

20141012-Basement-Finishing-4550

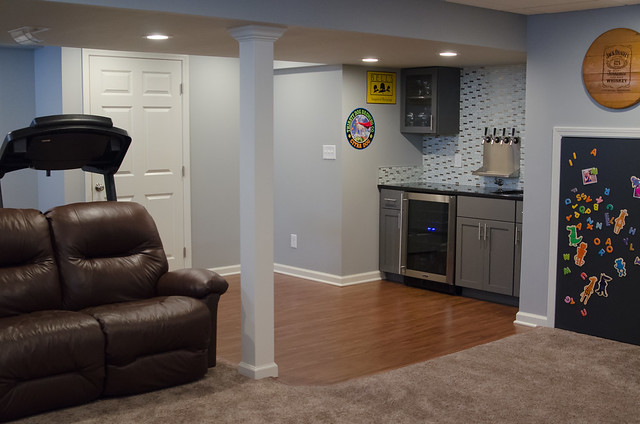
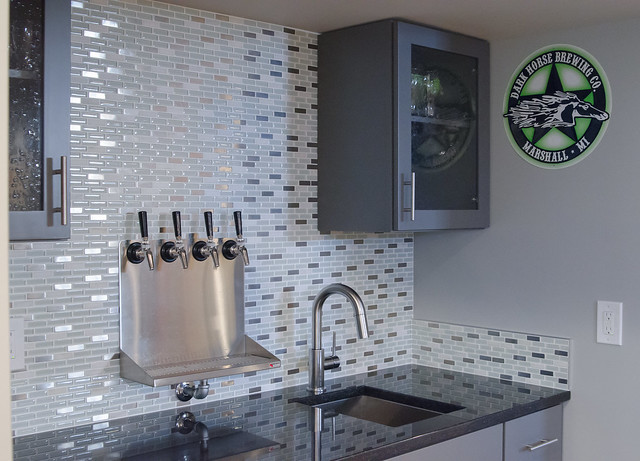
The back bar came together so easily compared to the basement as a whole, in terms of decision-making. Brian and I picked the very first piece of remnant black granite we saw. We chose clearance tile from Home Depot, and a medium gray paint between the wall color and the dark gray we used on frames and the understairs door.

Brian did the tap work in the back, connected to a fridge. He’s insulated the tubing running to and from. The first time we used the taps was pretty thrilling.

20150104-Finished-Basement-6523

20150107-Finished-Basement-

20150104-Finished-Basement-6556

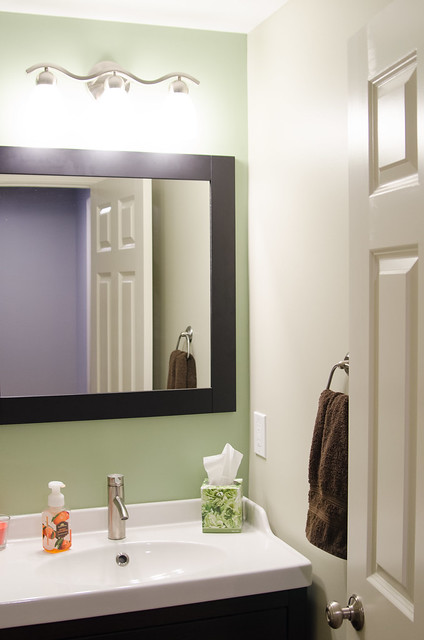
It’s hard to peak at the bathroom, since it’s a tighter space (though not in person). It is done in a darker green on one wall, surrounded by a neutral greige. We picked the sink out at Ikea, and found a nearly matching frame at Home Depot, along with the toilet and light fixture.

20150104-Finished-Basement-6535

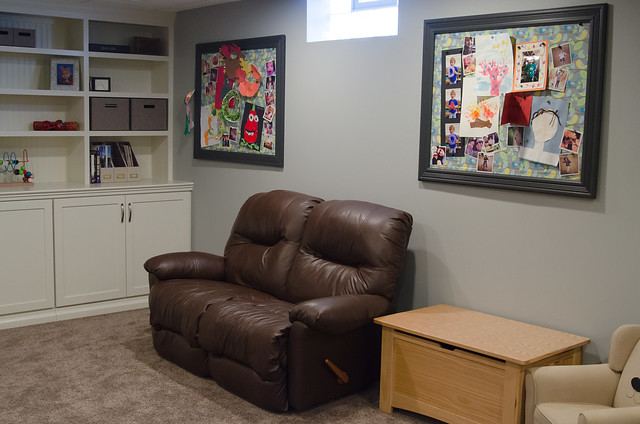
Hidden behind one of these large frames is the electrical panel. We had our contractor make the frames since they were so large, and so they would match. They are actually sheet metal covered in a fabric I picked up at Jo-Ann Fabric & Craft Stores, and I’ve used small round magnets from Target to hang up our kids’ art.

20150104-Finished-Basement-6521

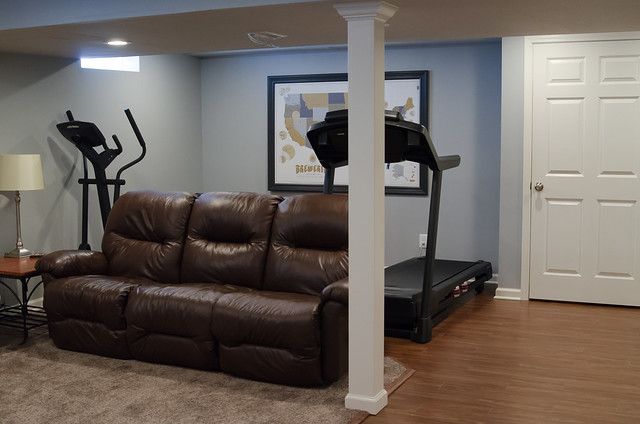
The frame in the back behind our exercise equipment was also done by then, and is a brewery map by Pop Chart Labs. By accident, it was also backed with sheet metal, which turned out really well so Brian can mark where he’s been with little magnets.

20150104-Finished-Basement-6522

20150104-Finished-Basement-6528

20150104-Finished-Basement-6530

20150104-Finished-Basement-6547

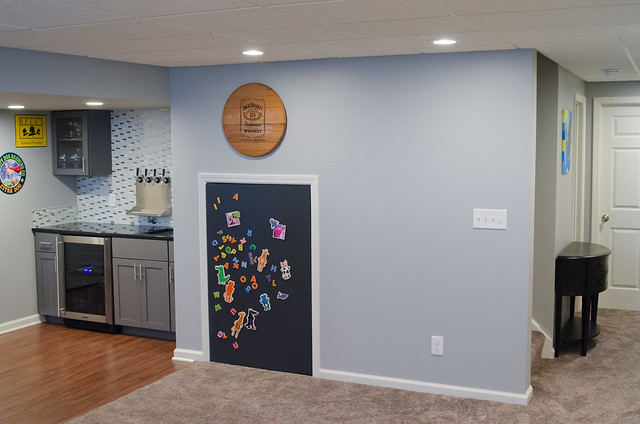
Instead of hiding our understairs storage door, we’ve framed and highlighted it. The paint looks like chalkboard paint, but it is not. It is, however, magnetic. The color is the same as the frames. Coraline likes to take the magnets and hide them under the door.

20150104-Finished-Basement-6555

We are so happy with our new space! I have been working out, which is a much more pleasant experience. I can easily see the TV from the treadmill. And take a drink when I’m done.

Lest you think the space is always this clean, we do have a kid desk, easel, car track and workshop that sit out that I simply moved out for the photos, as well as games and other miscellaneous items on our shelves. It’s truly lived in and well used, and we’ve really put it to work this winter with all the snow we’ve been having!

Continue Reading

Advent Stockings

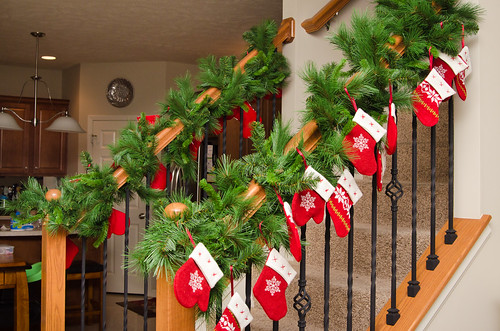
On par with my usual crafting timelines, here I am over a year later finally completing the project that I started talking about last year. I purchased a set of stockings and mittens that look knit and are backed with felt from Factory Direct Craft last year. This year they are hanging from the garland on my stairway.

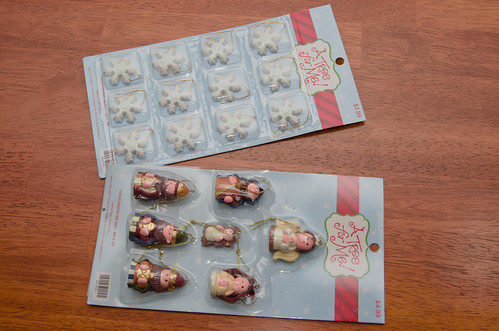
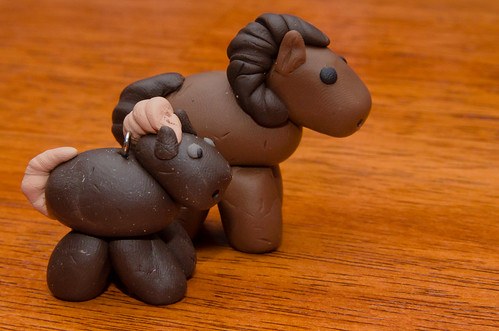
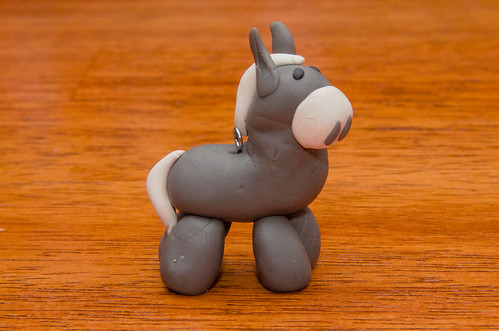
I originally wanted to use the Jesse tree story to be the basis for my ornaments, but found that those types of symbolic ornaments are hard to come by. Instead, I ran across these cute ornaments from Hobby Lobby on the cheap, and decided to make my own nativity scene animals to go with them.

Ornaments

The ornaments from Hobby Lobby looked like polymer clay. I’ve never used polymer clay (at least not since I was a kid) but I figured I could handle making a few animals. I bought Sculpey III clay from Amazon, and there it sat for another few months before I finally sat down, the night before they needed done, and started my clay animals.

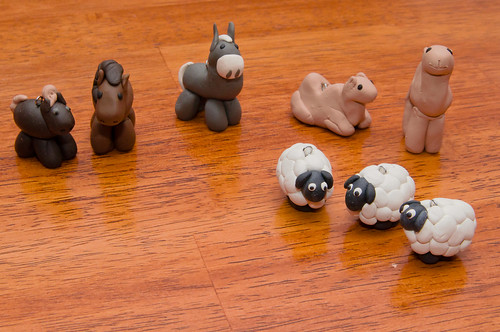
Animals

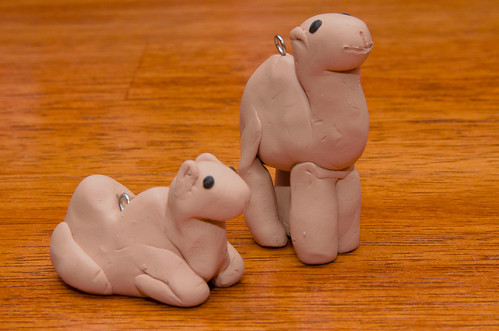
My first animals were the camels, and you may be able to tell. I was least happy with how these turned out, but I doubt Jameson will care. This clay was little harder to work with than some of the other colors.

Camel Ornaments

I had a lot of trouble keeping my nails from scarring the clay, which you can see in these close ups. From farther away though, you can’t tell.

The next day, I made all the rest of the animals in the same amount of time it took me to make just two the day prior, about an hour and fifteen minutes. The rest of the animals were easier. I used pictures online of other polymer clay animals to get the basic idea of what I wanted for my own.

Horse Ornaments

Donkey Ornament

In order to make them ornaments, I needed to bake them with an eye-pin in them (perfectly safe to bake it with metal at the 275 degrees that Sculpey III clay requires). To make sure the eye-pins don’t come out, you bend the eye-pin in the shape of an L before pushing them into the clay.

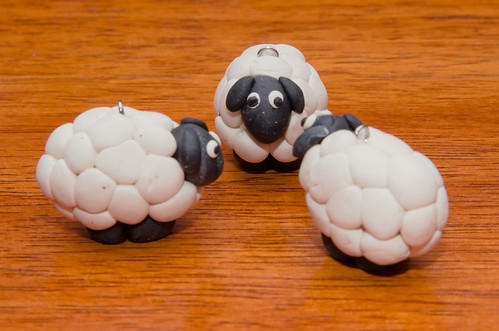
Sheep Ornaments

The sheep were my favorite to make. I started with a base white ball and made lots of little balls to stick on around it, with more balls for head and feet in black. The eyes were hardest, because the shapes needed to be so small.

I carefully put them in the over on an older metal pan and made sure to use an in-oven thermometer to verify the temperature was 275 degrees. I had read that temperature is key for properly cured polymer clay and an oven thermometer is recommended. I had my oven between 285-290 to keep it at 275 for the duration of the baking, which was about 45 minutes for these guys.

I used cross stitch thread for hanging them, since that is easily and securely knotted. (I had first tried a thin beading string but it wasn’t secure enough) All told, there are about 10 snowflakes interspersed with nativity animals and the figurines.

Advent Stockings

Jameson enjoyed opening the first two (since I was a day late). I made sure an animal was in one of them, since that is quite a bit more exciting than a snowflake. He’s not good at hanging, but he will show us where he wants his ornaments hung.

In addition to our advent stockings, we are also doing the chocolates, opening one of the small cardboard doors each day. We got great chocolate for it, each individually wrapped, from Harry & David. I was expecting I might be able to have some since Jameson hasn’t been too into candy, but apparently he knows the good stuff when he sees it and is eating it all.

He was a little hyper Monday night, running and jumping around like a maniac and taking a good 45 minutes to fall asleep. Last night we tried giving it to him right after work in hopes of toning the hyper down right before bed, but it only worked so-so. Turns out that giving a toddler chocolate in the evening is not a great idea! We may have to move to mornings if things don’t get better, haha.

Jameson has also been asking nearly every night, about 3 times in a row, who all the nativity scene people are in our set. “Dis?” Goat. “Dis?” Cow. He knows the baby, and has started identifying Mary and Joseph and Jesus’s mom and dad. Or just “mommy” and “daddy”. Too funny!

Continue Reading

Trim the Tree

Saturday it was beautiful out, and we got our Christmas tree. We like to get real trees (I in particular, since I grew up with fake trees, still think it’s a novelty. I think Brian would be happy with either).

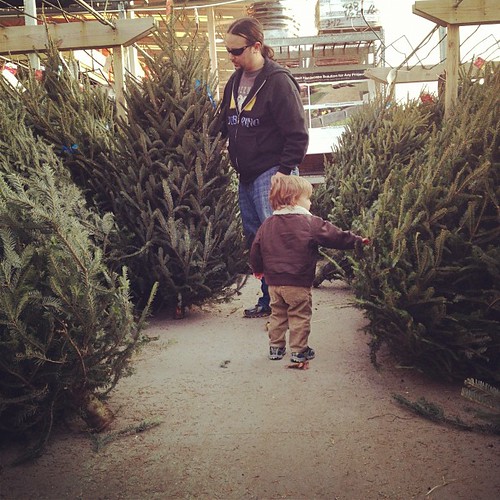
Picking out a Tree

This year Jameson helped pick out the tree (or really, just touched them all). He loved watching the worker cut our tree and kept saying “cut” over and over. However, when it came to trimming the tree on Sunday, he was a little less helpful.

I had a whole box of ornaments put away just for Jameson to be able to hang, but you know he didn’t want to hang those ornaments. He wanted to help with all the breakable, shiny and glittery ornaments. He was pretty good with them though for the most part, and handed them over nicely after getting threatened with a timeout once.

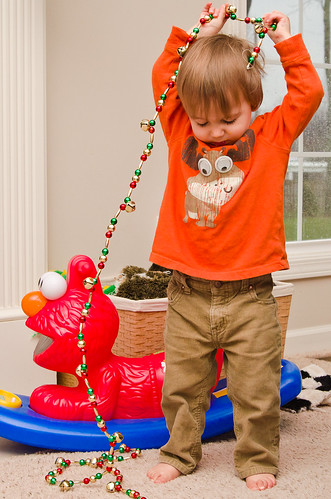
Also, he was a big fan of the small bell garland and tried it on, running around with it.

Bell Garland

Brian entertained Jameson for a good while with a collapsible ornament. Jameson kept trying to blow it over, and while Brian tried to get him to kiss it to help it back up, mostly it was just slobber everywhere!

Ornament

Ornament

[youtube=http://www.youtube.com/watch?v=jHc_x6XkuIA]

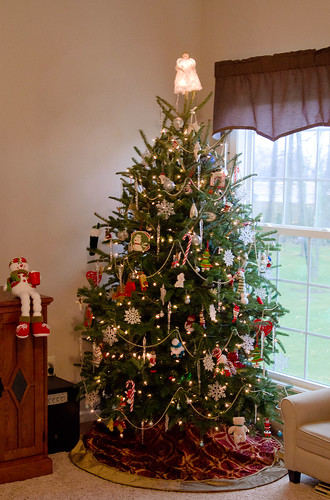
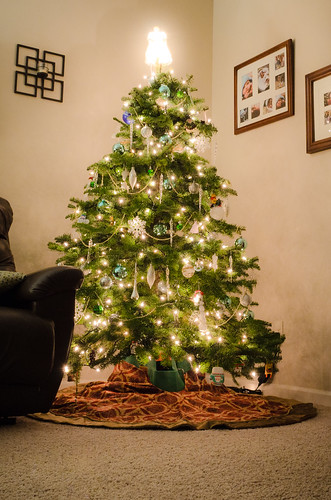
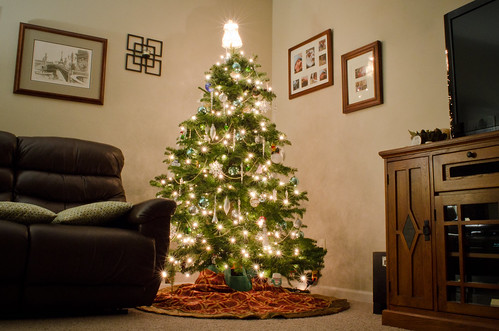
Now that Sasha is only on one floor, she took over the Christmas tree corner, so we had to find a new corner! I rather like the tree near the window now, and it seems a little more spacious. So here it is, in all it’s glory!

Christmas Tree

Continue Reading

Room Changes

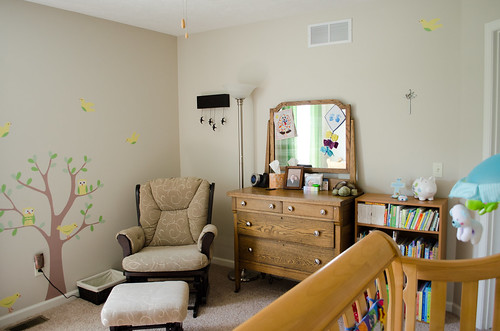
A new baby means room changes in our household (among many other changes, I am sure!). Because we opted not to find out our first child’s gender, we conveniently have a nursery outfitted for either a boy or girl this time, already in nice yellows and greens.

Jameson’s new room is here:

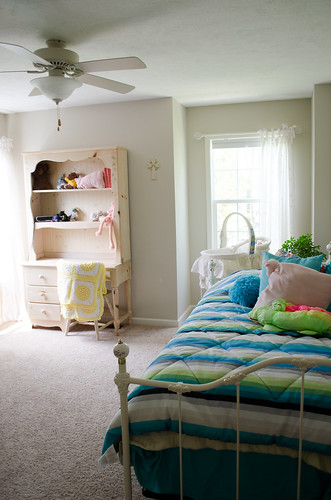
It obviously needs a little help before it can become Jameson’s new room. This is the guest room, and it’s so girly because of inherited furniture. Even the curtains are girly, which were left by the previous owner. Other problems include the fact that it is storage for all my craft items. I am not looking forward to going through all of that…

Luckily, we recently found great new office furniture on clearance, and that change (which I will share later) means that we can move the girly bed with the trundle beneath can move to the office so we can maintain our guest bed.

Jameson is probably ready for a big boy bed any time. At daycare, he sleeps on a cot; at home, he is expert at getting off of our bed, which is very high. We are about ready to stop using the blanket sacks and move to regular blankets since he’s nearly grown out of them.

Aside, a really adorable video:

[youtube=http://www.youtube.com/watch?v=G2WMgBteAmQ]

We are planning on getting his room all ready for him by his birthday/Christmas, and transitioning him the same time. That’ll give us about 3 months before baby arrives for him to get used to it.

Here’s the room plan; all of these items are already purchased except for his wall decals (I’m waiting for a sale!).

  1. Curtains : Eclipse Braxton Thermaback Window Panel – Navy Blue, $12.99 each from Target; we have the kids green ones in the nursery right now. They’re not perfect, but they are perfect for us in blocking out light
  2. Table Lamp : Stick Lamp with Chevron Shade (no bulb), approx $8.50 on clearance at Target stores, similar to this one online for $21.99 (colors are slightly different); I was pretty excited for this, it reminds me of tire tracks.
  3. Trash Can : Turquoise Plastic Waste Basket 13-qt., $2.99 from Target
  4. Shelf with Hooks : Three Hook Wall Ledge – Espresso, approx $17.50 on clearance at Target, same as this one for $34.99 online; we are planning on placing this at his height for his own nicknacks or rock collection and so he can hang up his own to-be-worn again clothes or pajamas
  5. Unfinished Nightstand : TARVA Nightstand, pine, $39.99 from IKEA; we are planning on painting this and the shelf with hooks a nice red color for finishing
  6. Red Paint : Not sure exactly what color yet, but I currently like Stop SW 6869 from Sherwin Williams
  7. Wall Decals : Car Wall Decal Mural, $80 from WeeDECOR; the tree and birds in the nursery are from WeeDECOR, and we are pleased with the quality nearly 2 years out so would like to stay with their products
  8. Navy Bed : Leo Twin Panel Bed with Footboard from Ashley Furniture, we purchased ours for approx $160 from a local dealer, our local Ashley store quoted about $175; after convincing Brian that a painted bed would be okay, I found that many are custom and expensive. The price was right on this one, and we are happy with other Ashley furniture purchases we have made.
  9. Bedding : Blue Trucks and Yellow Cars Microfiber Quilt Bedspread Set Twin Size by Home Fashion, $29.98 purchased from Amazon; after observing that quilts are expensive, I jumped on this when I saw it. I did want a Pottery Barn one over this, but it was out of stock and discontinued which end up saving us a lot of money!
  10. Artwork Line and Clips : DIGNITET Curtain wire, stainless steel and DEKA Curtain wire incl. clips, nickel plated from IKEA; we already owned this from years ago and never used. Since we have a stainless steal fridge, I’m excited to use this to hang his artwork on his walls.

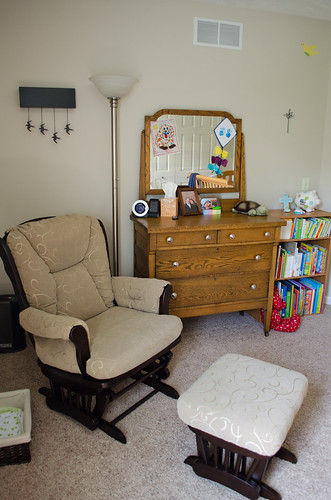
We are also removing the dresser from the nursery into Jameson’s new room, which is why I was so focused on the colored furniture. This dresser would be time consuming to refinish and is impossible to match woods as is. Instead, it will be a stand alone wood piece in the room, and the knobs on this dresser will be painted red!

We’ll have to find a new dresser for the nursery, preferably one that matches the honey colored crib which can transition to a twin bed for Jameson’s future sibling.

Our to do list for purchase is pretty short:

  • Mattress
  • Bed rails to prevent Jameson from falling out
  • New curtain rods for Jameson’s new room
  • Red paint
  • New dresser for nursery
  • Bookshelf for Jameson’s new room – possibly built in

Can you tell I might have been nesting a little? The mass Target run happened last night; I was gone for an hour and a half!

Continue Reading

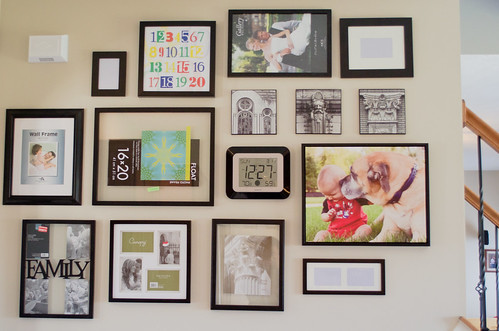
The Blank Wall

In our kitchen, there is a big wall that we always took our family pictures in front of. It’s what I like to call “builder beige”, like the rest of our house, though it’s not really the builder beige you might think. It does have some actual color and will take on different hues depending on the light. It’s subtle, light, and it suffices for now.

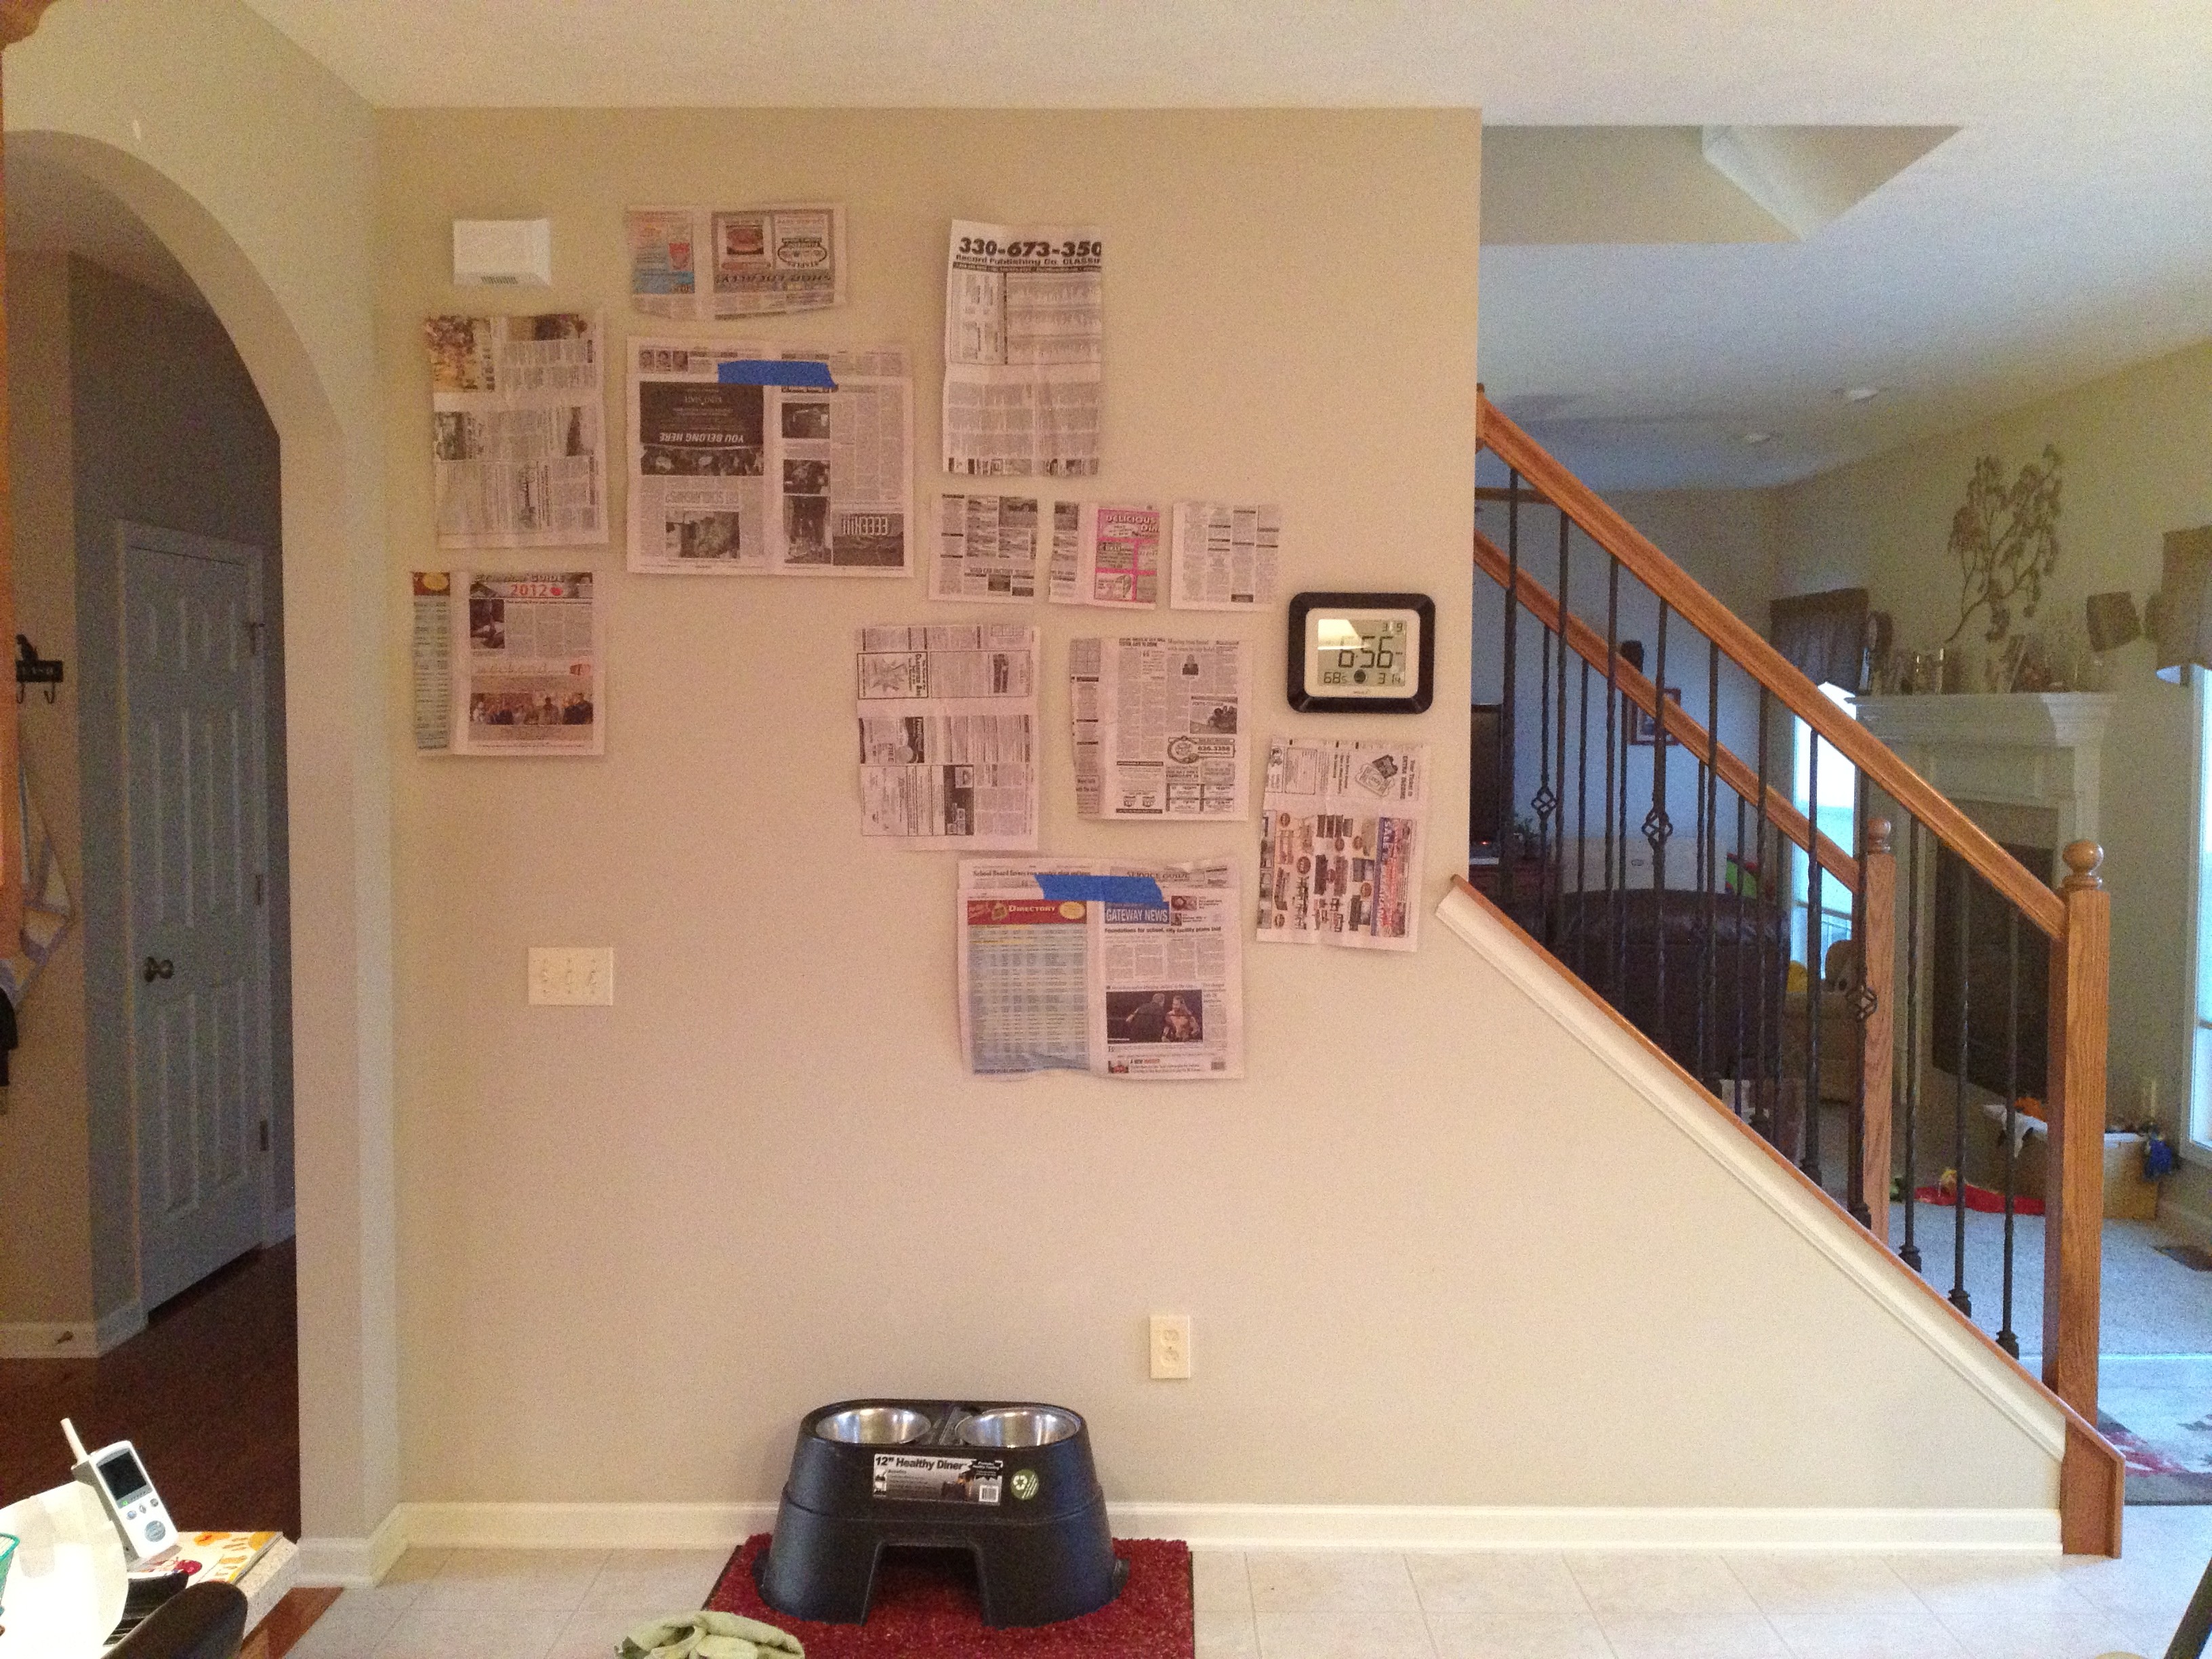
The same wall housed the giant ONE collage in photos for Jameson’s birthday (for months since we left it up for quite some time), and then most recently it held newspaper.

I read somewhere that newspaper can be an effective way to help determine placement of frames. I have been collecting frames for over a year now, and I’m ready to make a photo collage on my wall.

The newspaper though wasn’t doing it for me. I couldn’t remember what each of the frames looked like. Some are thinner, some have modern styles, some have mattes. I wanted to balance this all out, and the newspaper wasn’t working for me. The one thing it did tell me was that I needed some smaller frames, which we picked up on clearance at Target.

We left it up for a couple weeks, cause we’re I’m slow.

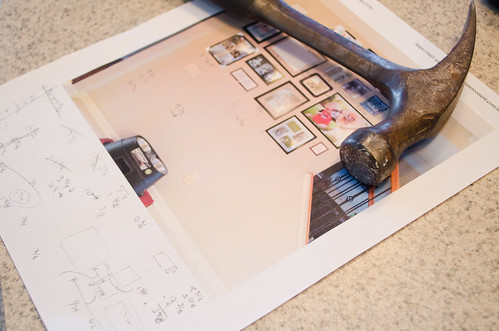
Then I turned to my good old pal, photoshop (and my phone, because I was too lazy to take nice photos). First I took the photo you see above, of the wall with newspapers I had already cut out to the shape of my frames. Then I took pictures of the frames themselves.

Do you see where this is going? I made some photoshop magic happen. I took all my frame pictures, cropped them, and resized them to fit within the newspapers on the wall since I already knew they were the proper size. Then, I removed the newspaper in photoshop with the healing brush (works like magic).

Then I had my bunch of frames I could move around on the wall willy-nilly. (Yes, willy-nilly)

My first few designs looked something like this, because I wanted to try and follow a diagonal up the stairs. I couldn’t find the right balance though. I wasn’t satisfied with this.

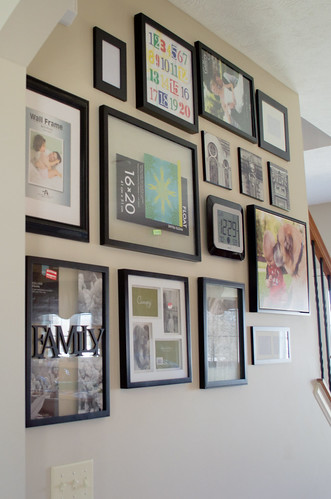
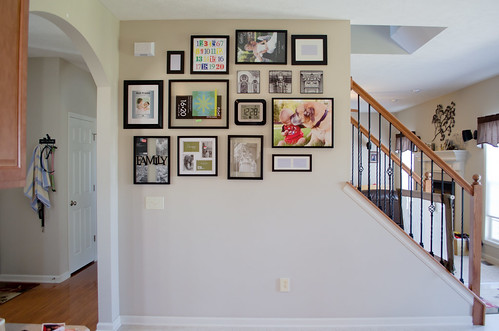
Finally I came up with a design that lived by itself on the wall, contained in itself. It could be on any wall, not just this wall. It looked more like a collective.

I sent it to Brian, and we decided to put it up this weekend (I was tired of newspaper on our walls, and frames overtaking the guest/craft room floor).

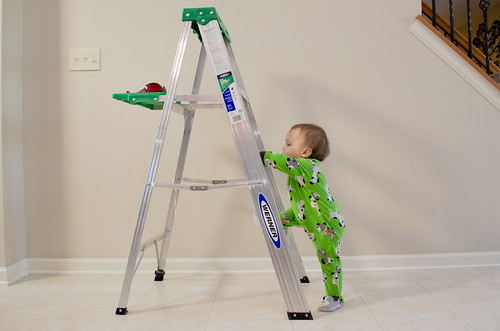
Jameson was a big help, of course.

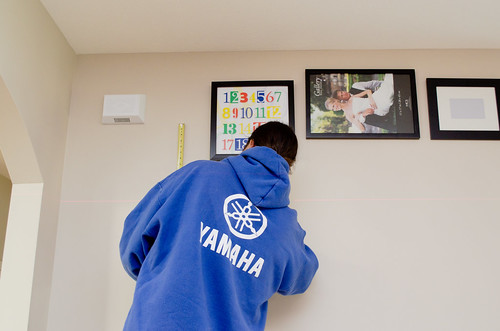
The first step was figuring out where to start, and we decided the upper right was a good location. Then we made our first mistake, by just eyeballing it.

We did nearly the entire top row which everything else was to be based on before we realized the frame in the upper right was too far to the left.

So back Brian went, to move the upper right frame over by about 4ish inches. Much better after that.

Learning from that mistake, Brian started laying out how much spacing should live between each of the frames and how wide that would make the collage. We still allowed for some flexibility, but we need to make sure everything would fit on the walls.

Jameson continued to be a big help.

This is also a great shot of his terrible haircut. Terrible.

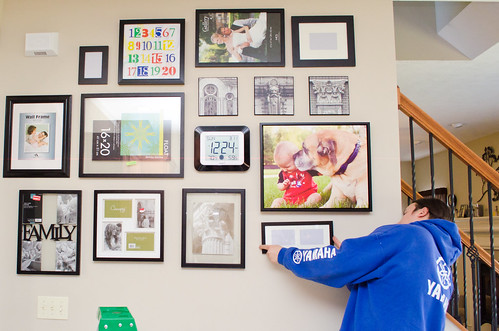
Finally, after one failed nap later, Brian was putting up the last frame.

Observant folks will notice it doesn’t match my plan. That’s because, at the last minute, Brian decided he wanted to take one of the frames in to work with him (as was originally intended though he never had before).

With this frame out of the picture (so-to-speak), we made some last minute changes. I am not satisfied though so I will be finding a replacement for this frame to complete the wall and fulfill the vision I had before.

So it’s done, but not done. Because there’s still the critical piece missing, you know, where I actually fill the frames with photos.

Knowing myself, it will probably be another month or more before I fill the frames, but I’m already happy with how this looks. It makes the kitchen feel more complete, and Jameson LOVES to point at big picture of him and Sasha.

Speaking of, we are teaching him to say Sasha (and Uh-oh). He is practicing these two syllable words frequently and is pretty close. He is still completely missing the “S” sound in Sasha though. Adorable!

Continue Reading

Easter Basket Crafting

Now that Valentine’s is over, I can safely  move on to Easter.

I mean… well, full disclosure, I have had the materials for Jameson’s Easter basket since this time last year. It’s been sitting in the craft room, under the table, just waiting for a night like Friday night.

Friday night, my eyes were really dry from taking the dry-out-your-sinuses medication (the good stuff), so I didn’t want to watch much TV or read. What better thing to do than whip out my new (year old never used) glue gun and create Jameson’s Easter basket?

I had even pre-printed the directions from Factory Direct Craft (my favorite go-to online craft store).

Before I begin, I should mention that the materials I used were hard to find last year. Apparently they were discontinuing jumbo loopy chenille. Last year when I heard it was being discontinued I actually bought enough to do two, maybe even three, Easter baskets. Ahem. But lucky for you, apparently some colors are still in stock this year whaddayaknow.

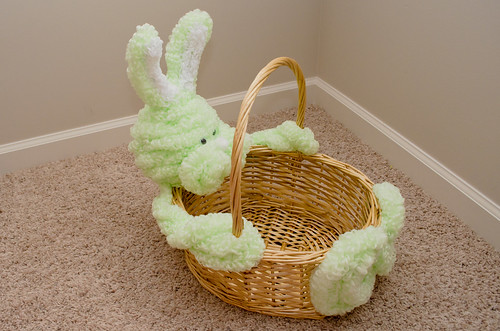
My Easter basket is extra large, so I used some extra of the materials. Here’s how big my basket is:

That’s the same basket, last year, with Jameson inside it. He wouldn’t fit this year though, so I guess I didn’t have an excuse to wait on this project any longer.

Here’s my materials:

basket
2 hanks (6 yards to a hank) of green jumbo loopy chenille
1 hank of white regular size loopy chenille
1 – 4″ styrofoam ball (after you add the chenille on, it looks like it’s 6″ big)
1 – 1″ white pom pom
2 – big googly eyes
1 – craft stick (aka popsicle stick)
floral u pins (for added security with the glue gun)
hot glue gun

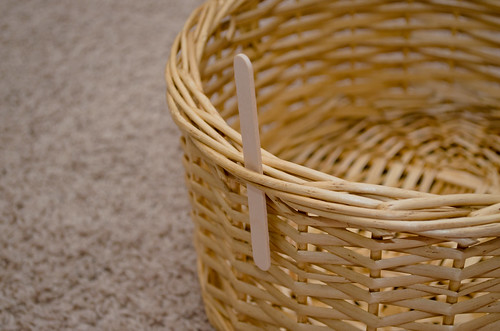
Step 1: Your popsicle stick is going to be the base:

You need to secure that popsicle stick with glue. You’ll be using a lot of glue.

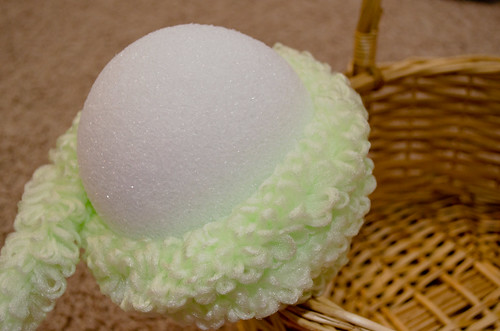
Step 2: Then you stick the ball on top of the stick. And add a bit more glue.

Step 3: Now you get to start wrapping the head. I started with some glue and a floral pin to keep it in place, and just added glue periodically as I wrapped from the bottom up.

Step 4: Once I reached the top, I didn’t cut the chenille. I decided to just use take another floral pin there and go ahead and make my ears (less glue needed then, right?)

I eye-balled the size I wanted the ears, about 6″ long or so. I cut the chenille and glued it down.

Step 5: Then I cut about 10″ or so of the loopy chenille twice, for two cheeks (aka bunny’s muzzle). I made my cheeks a bit bigger after I did the initial 6″ recommended by the directions on Factory Direct Craft because it didn’t seem proportionate to my large basket.

Lots of glue.

Step 6: It’s up to you, but here’s where I went ahead and glued the eyes and nose on, just to make sure everything looked good size-wise.

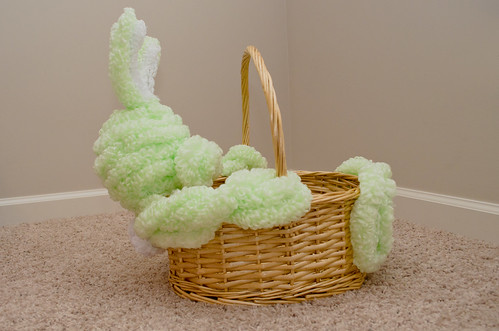
Step 7: Then it’s time to do the arms. I did my arms with the second hank of green chenille in one go. I wrapped around each handle twice, then secured it with what else – glue – at the back, with the popsicle stick and the bottom of the styrofoam ball.

Step 8: Don’t forget the feet! I did the feet in one swoop as well. In my opinion, the less cutting, the more secure it is, right?

The only way the feet are secured with with a lot of glue, so I tried to glue at major points/seams in the basket where it was structurally more sturdy. I wasn’t too concerned with amounts that way, I just started wrapping until one foot looked big enough, then looped over to do the other foot.

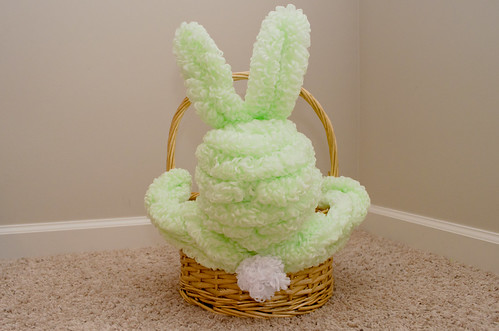
Step 9: The only thing left at this point, you may notice, is the white of the ears and the tail. I used my while chenille and cut two pieces so they’d fit inside the ears. Since I had regular sized chenille instead of jumbo, I doubled the length and folded it in half. You wouldn’t need to do that with jumbo size.

Step 10: For the tail, just take some more white chenille and roll it in a ball. And glue!

You’re all done!

Optional Step 11: You can add ribbon for a bow or whiskers or whatever you like. My mom made a version (much smaller) than this for my Easter basket that I had when I was growing up. Mine was white in the palms of it’s feet, a white muzzle instead of colored, whiskers, and googly eyes with eye lashes.

Correction from my mom: My mom didn’t make my Easter basket (cause I’m not the favorite haha). My grandpa’s cousin made the basket (and also made my mother’s manger scene).

This project was super easy, and I can’t believe I waited a year to do it. I only got hot glue on my fingers twice when doing the white chenille inside the ears.

Continue Reading

Merry Christmas

I’m a little early, but if it’s December 24 & 25 when you read this, then I’ll be right on time.

I’m taking a short break. Today is my last day working for the year (that sounds so fun to say), and I’m going to take a break blogging at least through Christmas, maybe a little more. I’m going to spend some time watching Jameson without recording (though I’m sure I’ll do that later haha) and enjoy him a lot.

I hope everyone has a safe and happy Christmas too.

P.S. Jameson had his one year check up yesterday. He is 18 pounds and change (10th percentile) and 30 inches long (50th percentile), following the same curve he has been this whole year. A healthy almost-toddler. He had to get 3 shots, and blood drawn to test for anemia and lead, as a precaution, though I am sure he is fine. He was a brave little boy through it all.

P.S.S. He gave me two (open mouth) kisses on Tuesday night. How cute and how gross! This morning he gave his daddy one too so he didn’t feel left out.

Continue Reading

Birthday Bash: Circle Garland Finale

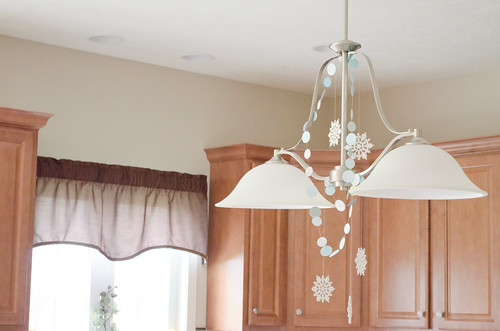
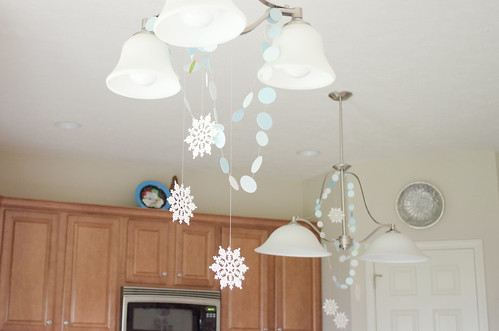
I finally finished the circle garlands for the chandeliers, but I have to be honest: They looked a little incomplete. So I added cheap snowflake ornaments from Target (4 for $1!) and wa-la, finished product. I love them, and I’ll probably leave them up until Brian tells me to take them down.

They were very hard to photograph so you can see the details. I paid a lot of attention to the background of the photo because if it was too busy, it was too hard to see the snowflakes.

Each room of the first floor is decorated with the subtle garland and snowflakes (with a surprise one I haven’t shown here in the living room). Even in the entryway swing the large snowflakes from the banisters upstairs.

I’ve also been careful with the red this season. Jameson’s party colors are blues, whites, silvers, and a touch of bright green, so I limited the red ornaments that went on the tree and decorated around the house with as much blue & white as I had.

I hope everyone is ready for the ridiculous amount of photos I am going to take tomorrow, Jameson’s BIRTHDAY, and this weekend for his PARTY. I am so excited.

Continue Reading

Best Laid Plans…

This weekend was kind of  a bummer.

Friday, I left work early to pick up a sick baby. Jameson was clearly exhausted, and had vomited twice at daycare and then once again at home before taking a long nap. After that though he appeared to get better, no fever and very active. But we had an incident Friday night, then Sunday morning and Sunday evening. He’s otherwise very active and not acting sick except for the super long naps and a little bit of a whiny disposition.

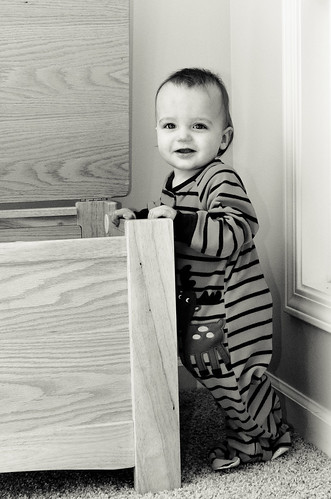
(He’s being whiny in this photo. This is crying, not yelling or other fun baby noises, but I swear it looks like he’s smirking at me too)

The super bummer part came after Brian and I had our date night on Saturday, he woke up Sunday feeling ill. I thought it might be food poisoning, honestly, but he’s got that sickly hot-cold feeling, so I think he caught what Jameson has, only worse.

Sunday ended up mostly being something like this for Brian.

And this, because Jameson doesn’t seem to understand that he’s sick. Crazy baby. He’s not eating or drinking much of anything, so we’re just keeping him hydrated as much as possible and waiting it out. With no fever, there’s not much we can give him unless it gets worse and we need to head to the doctors’.

So, that also meant no Christmas tree this weekend. I did get a few decorations up, and we put up Christmas lights a couple weeks ago, so while Brian was miserable on the couch, I went camera happy and took some photos. After I made him pasta for dinner. Good thing he didn’t have much of an appetite, since I suck at cooking.

This garland is what is going to hold my advent stockings next year when I obtain all my ornaments.

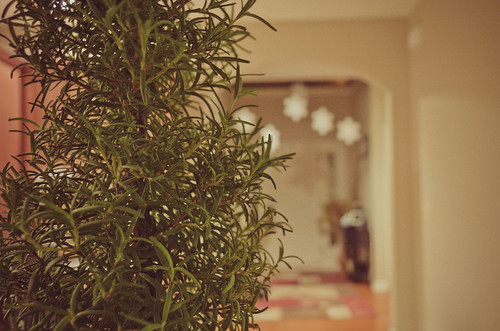
This is a live rosemary tree. It smells lovely, and I am hoping I don’t kill it, I’d love to plant it next year. And in the background…

These are styrofoam snowflakes hanging from the banister upstairs. Last year, I did bulbs, which I still have, but I wanted to do something more neutral for Jameson’s party. These were precut like this, but I bought some circles too so I can try my hand at making my own smaller versions to go with them.

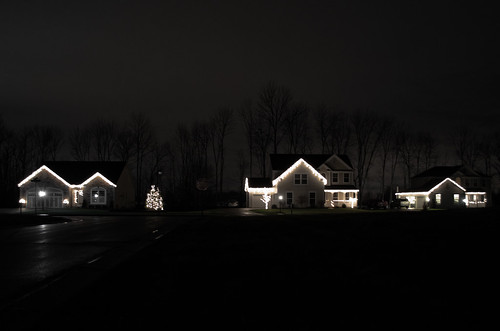
And the outside…

This is our street. That’s right, only 3 houses on my street, cul de sacs at either end (like a bone). We all happened to use white icicle lights, which looks lovely coming up the road.

(The lots were bank owned since the builder went under, but recently were purchased by another builder, so I am actually looking forward to possibly having more neighbors in a couple years.)

Unfortunately tonight Jameson will be missing out on the Polar Express! The Cuyahoga Scenic Railroad does this every year, and we were really looking forward to going with our friends, but the smart parental choice says that since he was sick yesterday evening, and Brian is also still ill, it wouldn’t be wise to go because we are germ carriers, even if it was just Jameson and myself.

Hopefully everyone will start to feel better soon!

Continue Reading

Welcome, Autumn

September 23rd was the first day of fall, but I pulled out my fall decor a couple weeks earlier. It is always exciting for me, because my house is already in fall colors with browns, maroons and oranges.

I had so much I wanted to share but I couldn’t fit it all in the board. I just love the vase with the mini faux pumpkins I bought at a craft store. I’m going on three years of using it and still haven’t gotten tired of it.

I love faux flowers, if they are quality made. I mixed my large floor vase with real dried cattails and grasses (also around 3 years of use).

Also toward the bottom are two plates that I painted at a class held by an All Fired Up store. This fall, I’m going to do a stained glass class. Fall is the best time for crafting.

And apples. I can’t wait to go to an apple orchard and pumpkin patch with Jameson.

But just when you think fall is really in swing, late blooming flowers arrive on scene. Hello, dahlias.

I hope they finish blooming before frost arrives. I would hate to see all their lovely potential go to waste. Happy Fall everyone!

Continue Reading